Living For Sailvídeo
¡DE VUELTA al trabajo en ANTIDOTE! - Cómo usé la impresión 3D para reparar mi barco
23 de agosto de 2026 · 24 min · 10K visitas
Qué cubre este vídeo
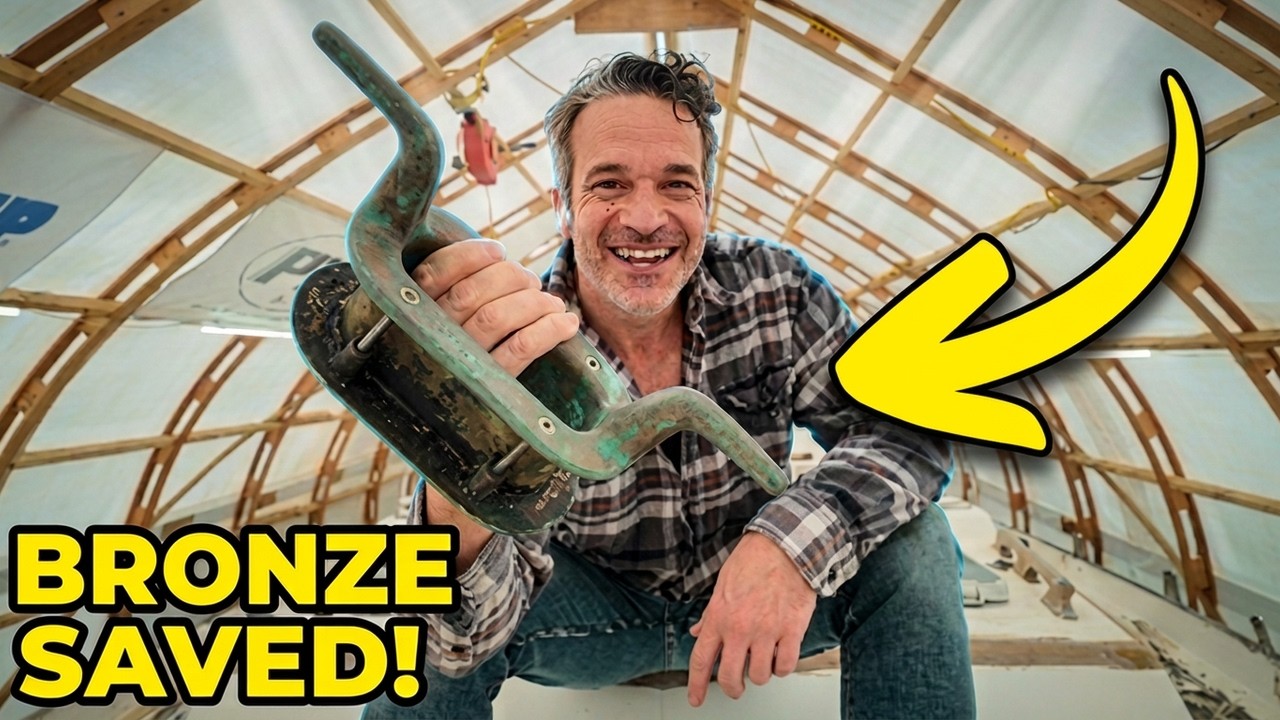
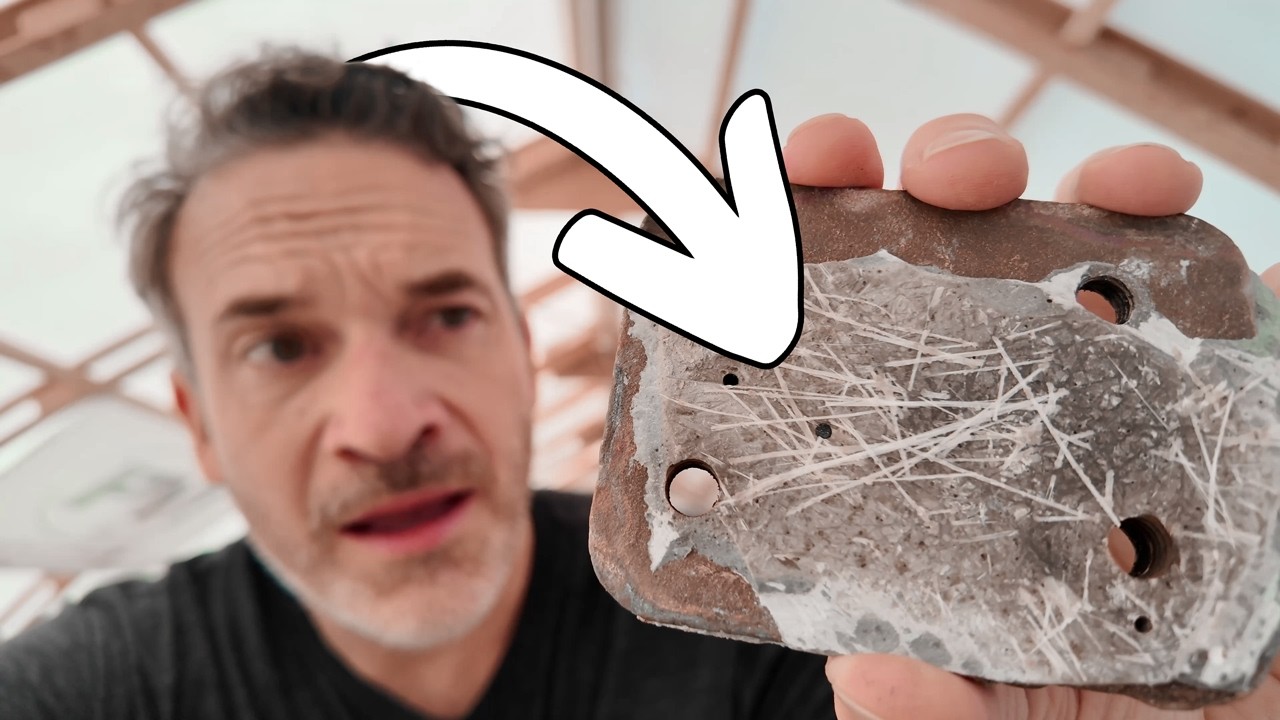
La restauración de un Liberty 458 de 1989 implica reparaciones estructurales en el espejo de popa, las amuradas y el soporte del eje de la hélice.0:08 Para tratar la humedad en el espejo de popa, un sistema de bolsa de vacío redujo con éxito los niveles de saturación, permitiendo la reparación de la fibra de vidrio.0:54 Para la amurada, se están fabricando placas de refuerzo para candeleros a medida en G10 por parte de Current Composites.4:05 Para asegurar un ajuste preciso de estas piezas únicas, se crearon prototipos impresos en 3D usando una impresora Qidi Plus 5, que cuenta con una cámara con calefacción activa y sensores integrados de nivelación de base.9:53 Estos prototipos permitieron probar la alineación de los pernos y los ángulos complejos alrededor de los imbornales antes de la producción final.4:05 Además, el cojinete del eje se reemplazó congelando el nuevo cojinete para reducir su diámetro y utilizando una herramienta guía impresa en 3D con tornillería de tres cuartos de pulgada de Bolt Depot para insertarlo en el soporte de bronce.18:24 El proceso de retirar el cojinete viejo requirió un corte manual cuidadoso con una sierra para metales para evitar dañar el bronce circundante.16:59
Barcos en este vídeo
Más de Living For Sail

De Living For Sail — mira el barco del canal, la tripulación y cada vídeo analizado.
The Sailing Directory Newsletter
Un correo electrónico con los mejores hallazgos de la flota: los momentos, barcos e historias que merecen tu tiempo de visionado. Introduce tu dirección para recibir tu propia copia.