PV Connector Crimping 101 - Wire Terminal Basics | Ep: 7/14
13 October 2024 · 7 min · 18K views
What this video covers
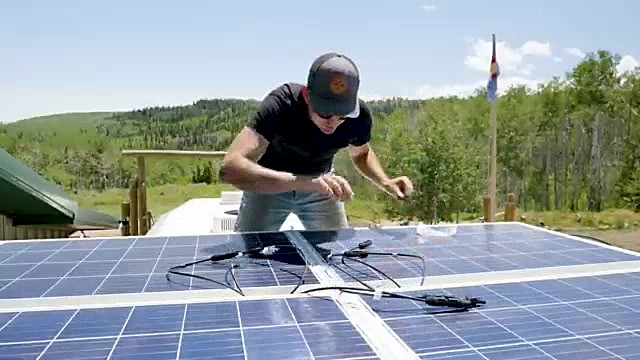
Nate demonstrates how to crimp and assemble PV connectors for extending solar panel wiring to a charge controller, using 10-gauge PV wire — the only gauge used in EXPLORIST life system designs.0:11 The open-barrel metal terminals inside PV connectors have a U-shape and require a specific open-barrel crimper whose jaws have a matching U-side and an M-side; the crimper has three positions covering 10–12, 12–14, and 16–18 AWG wire.1:42 A PV connector kit contains four pieces: male and female electrical terminals and male and female plastic housings.3:32 Nate explains the counterintuitive polarity: the positive wire from a solar panel uses a male housing containing a female electrical terminal, so the extension wire gets a male terminal crimped on and inserted into a female housing.4:07 The negative wire reverses this.5:11 Once a terminal clicks into its plastic housing it cannot be removed — a mistake means cutting it off and starting over.4:55 Nate also clarifies that MC4 is a brand name (made by Stäubli) for one type of PV connector, not a generic term, and uses "PV connector" throughout to avoid trademark issues.6:35 The lesson is episode 7 of 14 in the wire terminals playlist; the next lesson covers Anderson connectors.0:19
More from EXPLORIST life Mobile Marine & Off-Grid Electrical

From EXPLORIST life Mobile Marine & Off-Grid Electrical — see the channel’s boat, crew, and every analysed video.
The Sailing Directory Newsletter
One email with the fleet's best finds — the moments, boats, and stories worth your watch time. Enter your own address to get your own copy.